Step by Step Tutorial for Ambari Installation

System Requirements
At first, we need to think about the setups of VMs. So, I list a table for VMs below.
| hostname | ip | operating system | RAM | disk space | package |
|---|---|---|---|---|---|
| master1.bigdata.com | 192.168.110.150 | centos6.5 64 位 | 16g | 50g | ambari-server namenode |
| slave1.bigdata.com | 192.168.110.151 | centos6.5 64 位 | 16g | 50g | ambari-agent datanode |
| slave2.bigdata.com | 192.168.110.152 | centos6.5 64 位 | 16g | 50g | ambari-agent datanode |
VM Deployment
Login VMware vsphere client system
Create 3 VMs with specific system requirements
Set the name of VM
Choose data storage
Choose hardware configuration
Load centos6 ios file into CD-ROM when booting
You can use the minimum version of the centos. Then you need to click the option “Running system installation with system booting”.Configuration complete
Operating system installation
Power on the VM
- Choose the first one.

- Choose the first one.
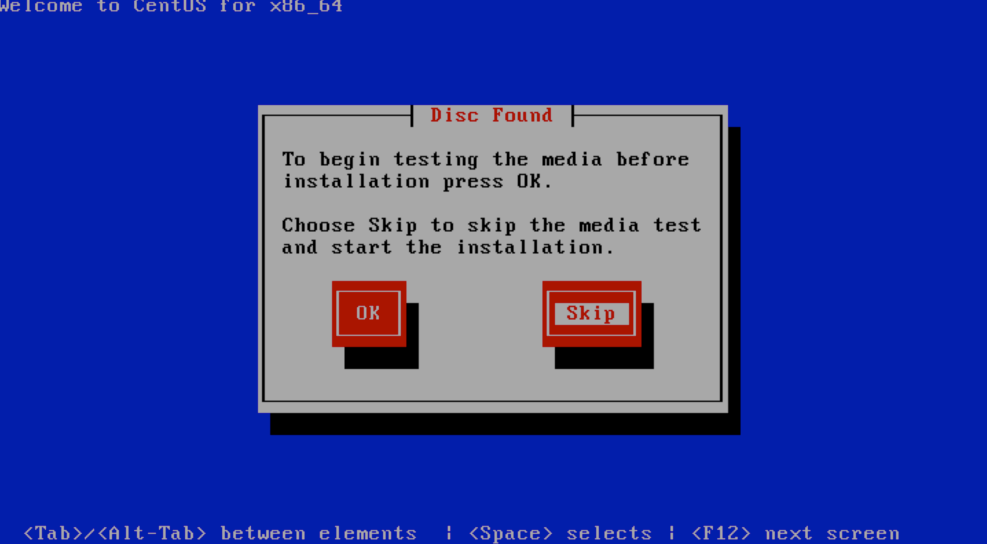
Click “skip” to continue.
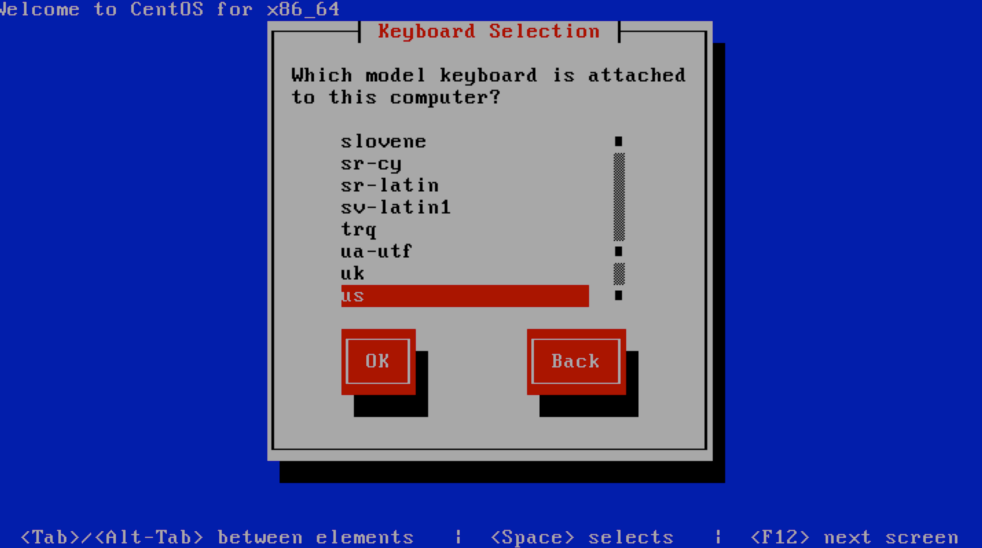
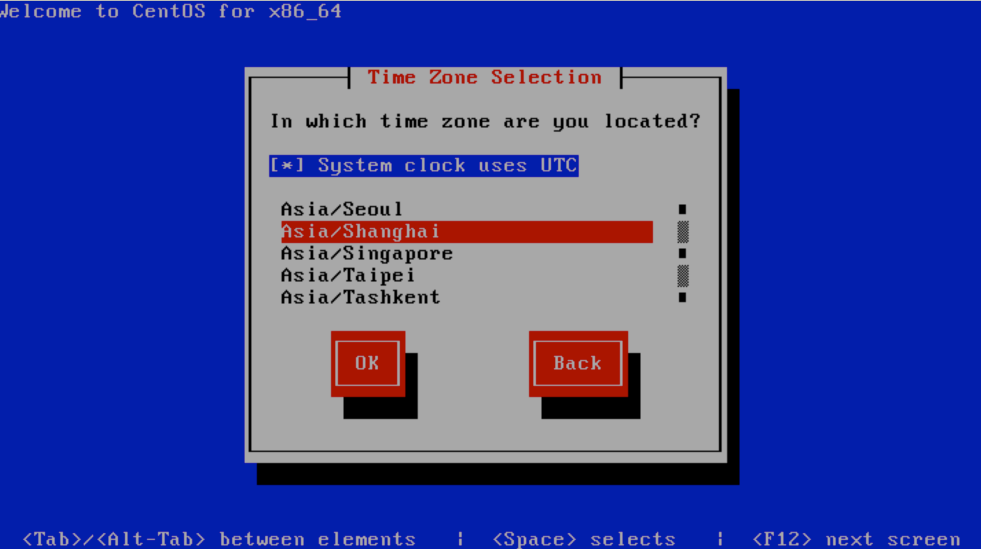
Choose language, keyborad and timezone.
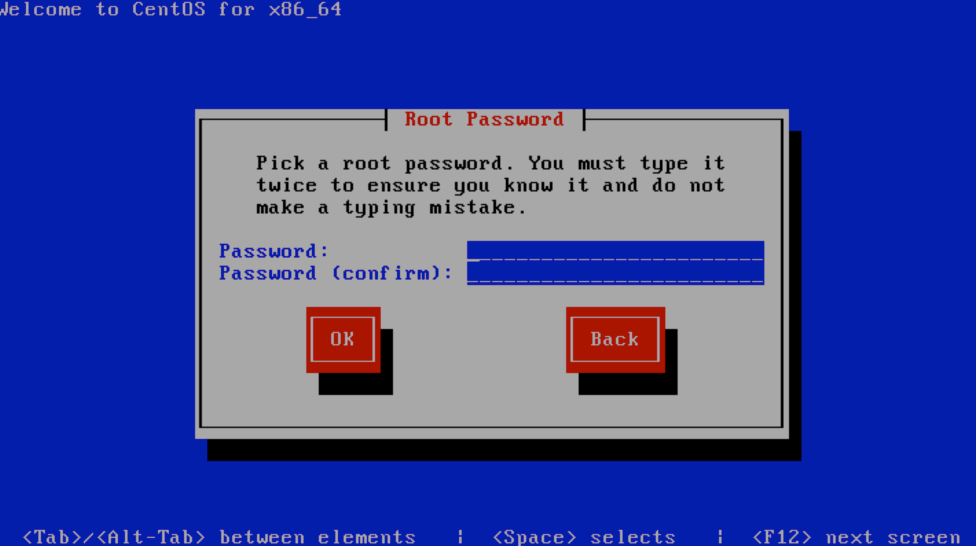
Set root password.
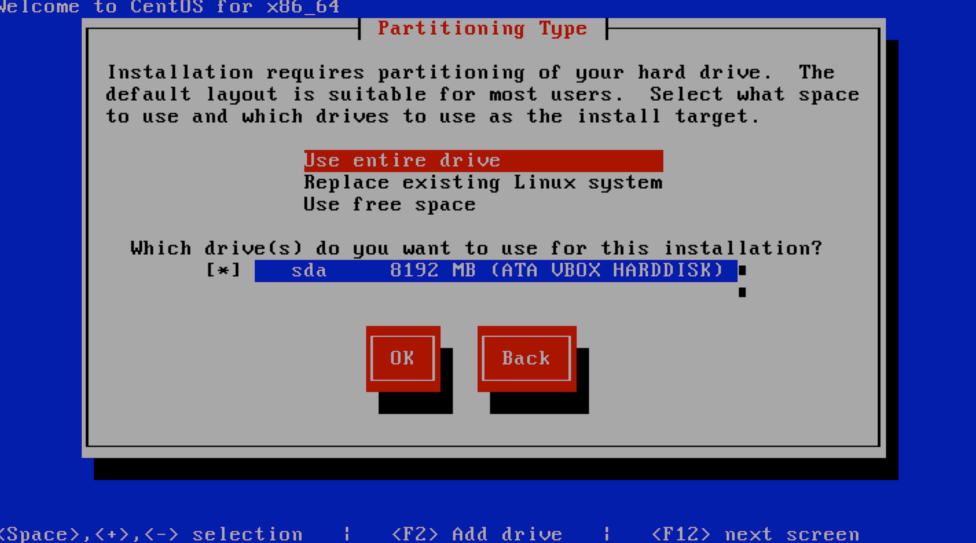
Click “Using entire drive” to continue.
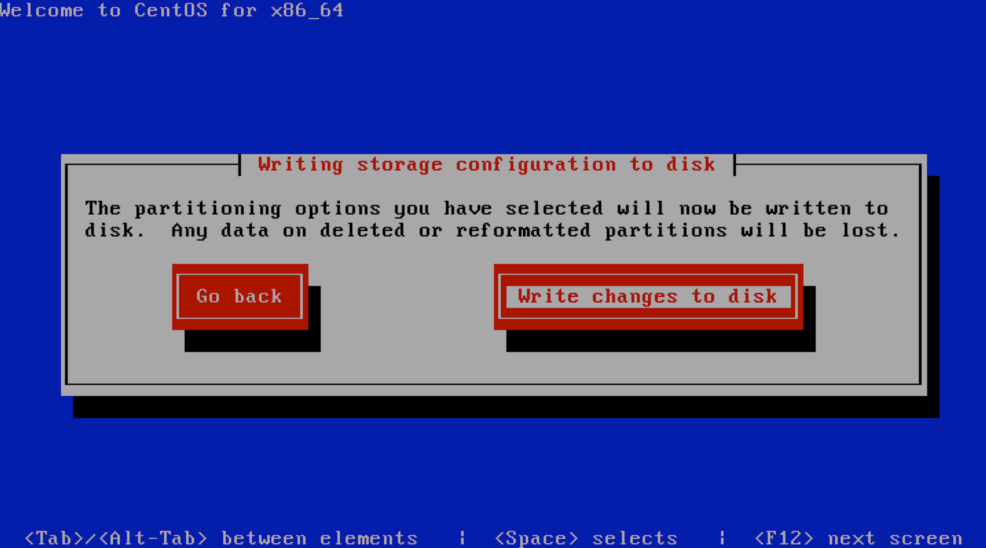
Choose “Write changes to disk” to continue.
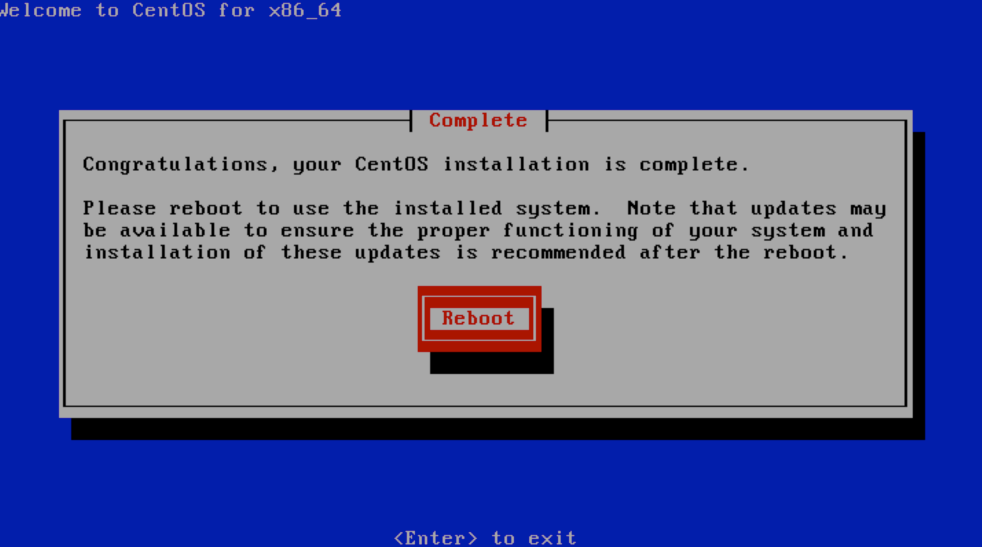
Reboot.


VM Preparation
1. Configuration and Installation for VMs(master and slave servers)
Install java.
1
yum -y install java
Enable network adapter.
1
2
3
vi /etc/sysconfig/network-scripts/ifcfg-eth0
vi /etc/sysconfig/network-scripts/ifcfg-eth1
vi /etc/sysconfig/network-scripts/ifcfg-eth2Then, enable it to run after system booting
1
ONBOOT=yes
Using tool ping to check the status of accessing public network and local network.
Change the system’s hostname on all servers.
Update file(/etc/sysctl.conf), add a item
1
kernel.domainname=master1.bigdata.com
Update file(/etc/hosts), add doamins.
1
2
3
192.168.110.150 master1.bigdata.com master1
192.168.110.151 slave1.bigdata.com slave1
192.168.110.152 slave2.bigdata.com slave2Update file(/etc/sysconfig/network)
1
2
NETWORKING=yes
HOSTNAME=master1.bigdata.comReboot systems
Check the correction of hostname
1
2
hostname
hostname -f
Set up password-less SSH on all servers
Disable SELinux
1
vi /etc/selinux/config
Set disabled for SELinux:
1
SELINUX=disabled
Enable access for using public key.
Warning: Filename is sshd_config, not ssh_config.1
vi /etc/ssh/sshd_config
Delete comment signal(“#”) blow:
1
2
3
RSAAuthentication yes
PubkeyAuthentication yes
AuthorizedKeysFile .ssh/authorized_keysGenerate public key and private key on master server.
1
ssh-keygen -t rsa
Then, click the default option for configuration.
Create directories and copy the public key to slave servers.
1
2
3
slave$ mkdir ~/.ssh
slave$ cd ~/.ssh
slave$ touch authorized_keysLogin to master server, then copy public key:
1
maseter$ scp ~/.ssh/id_rsa.pub root@slave1:~/.ssh
Login to slave server, then copy content from public key to a file(authorized_keys):
1
slave$ cat ~/.ssh/id_rsa.pub >> ~/.ssh/authorized_keys
Notice: You need to copy your content of local ssh public key to your local authorized_keys if you use standalone mode.
Install ntpd on all servers.
Check to see if you have installed ntpd.
1
rpm -qa | grep ntp
If not, install ntpd
1
yum -y install ntp
Close transparent huge page on all servers.
Append code block to file(/etc/rc.local) for closing transparent huge page.
1
vi /etc/rc.local
code block:
1
2
3
4
5
6
if test -f /sys/kernel/mm/transparent_hugepage/enabled; then
echo never > /sys/kernel/mm/transparent_hugepage/enabled
fi
if test -f /sys/kernel/mm/transparent_hugepage/defrag; then
echo never > /sys/kernel/mm/transparent_hugepage/defrag
fiReboot operating system.
Check the status of the transparent huge page to ensure the status is “never”.
1
cat /sys/kernel/mm/transparent_hugepage/enabled
2. Set up a local repository on master server.
Install local repository tool.
1
yum install yum-utils createrepo
Install the http service.
1
yum install httpd
Start the http service.
1
service httpd start
Install tool wget.
1
yum -y install wget
Download Ambari & HDP package files to the master server.
1
2
3
wget http://public-repo-1.hortonworks.com/ambari/centos6/2.x/updates/2.4.2.0/ambari-2.4.2.0-centos6.tar.gz
wget http://public-repo-1.hortonworks.com/HDP-UTILS-1.1.0.20/repos/centos6/HDP-UTILS-1.1.0.20-centos6.tar.gz
wget http://public-repo-1.hortonworks.com/HDP/centos6/2.x/updates/2.4.3.0/HDP-2.4.3.0-centos6-rpm.tar.gzCopy Ambari and HDP packages to http dir, then untar them.
1
2
3
4
5
cd /var/www/html
mkdir hdp
tar -xvf ambari-2.4.2.0-centos6.tar.gz -C /var/www/html
tar -xvf HDP-2.4.3.0-centos6-rpm.tar.gz -C /var/www/html/hdp
tar -xvf HDP-UTILS-1.1.0.20-centos6.tar.gz -C /var/www/html/hdpCheck repository address for next step.
Ambari base URL and gpgkey:
1
2
http://192.168.110.150/AMBARI-2.4.2.0/centos6/2.4.2.0-136/
http://192.168.110.150/AMBARI-2.4.2.0/centos6/2.4.2.0-136/RPM-GPG-KEY/RPM-GPG-KEY-JenkinsHDP base URL and gpgkey:
1
2
http://192.168.110.150/hdp/HDP/centos6/2.x/updates/2.4.3.0
http://192.168.110.150/hdp/HDP/centos6/2.x/updates/2.4.3.0/RPM-GPG-KEY/RPM-GPG-KEY-JenkinsHDP-UTILS base URL and gpgkey(gpgkey file same with HDP gpgkey file):
1
2
http://192.168.110.150/hdp/HDP-UTILS-1.1.0.20/repos/centos6
http://192.168.110.150/hdp/HDP/centos6/2.x/updates/2.4.3.0/RPM-GPG-KEY/RPM-GPG-KEY-JenkinsCopy repository config files.
ambari repo file:1
wget -nv http://public-repo-1.hortonworks.com/ambari/centos6/2.x/updates/2.4.3.0/ambari.repo -O /etc/yum.repos.d/ambari.repo
hdp repo file:
1
cp /var/www/html/hdp/HDP/centos6/2.x/updates/2.4.3.0/hdp.repo /etc/yum.repos.d/
Update repository config files.
You ought to renew base URL and gpgkey URL in your ambari.repo and hdp.repo files.
3. Ambari-server setup on master server
Install ambari server
1
yum install /var/www/html/AMBARI-2.4.2.0/centos6/2.4.2.0-136/ambari/ambari-server-2.4.2.0-136.x86_64.rpm
Run command for ambari setup.
1
ambari-server setup
If you do not disable the SELinux, you need to press “y”.
If your Ambari server under user root, you just need to press “n”.
If you do not disable iptalbes, you need to press “y” to continue.
Select the JDK version, then follow steps to install it.
If you use a custom JDK, you will maybe meet some troubles that will happen within Ambari Installation. So, choosing option one for the recommendation.Choose database type
You can choose embedded the database. If you choose MySQL, you need to install the MySQL database on the master server and input info for the Ambari setup. Then put a MySQL connector into a specific path and run the command below to specify the path of the connector.1
ambari-server setup --jdbc-db=mysql --jdbc-driver=/usr/share/java/mysql-connector-java.jar
Run ambari-server
1
ambari-server start
4. Ambari-agent setup on slave servers.
Copy ambari-agent rpm file to slave servers.
1
scp /var/www/html/AMBARI-2.4.2.0/centos6/2.4.2.0-136/ambari/ambari-agent-2.4.2.0-136.x86_64.rpm root@slave_server_ip:~
Install ambari-agent.
1
yum install ~/ambari-agent-2.4.2.0-136.x86_64.rpm
Renew ambari-server URL in config file.
1
vi /etc/ambari-agent/ambari.ini
Renew ambari-server URL below:
1
2
[server]
hostname = master1.bigdata.comRun ambari-agent.
1
ambari-agent start
Installation
Before you launch the Ambari installation web UI, you ought to ensure things below.
Start the service httpd.
Stop the service iptables.
Start the ambari-server on the master server and ambari-agent on slave servers.
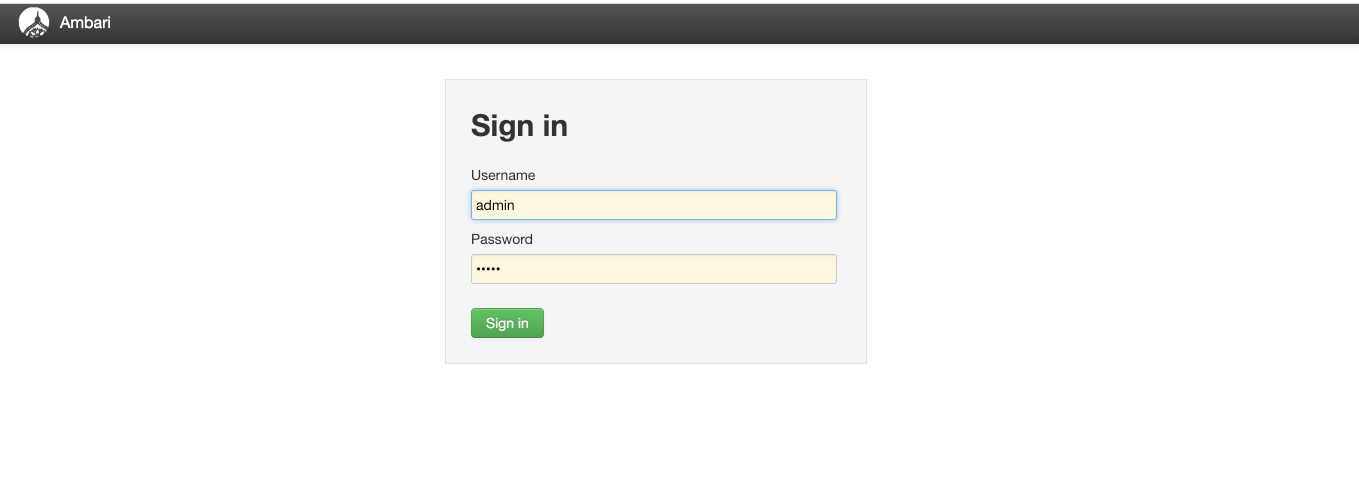
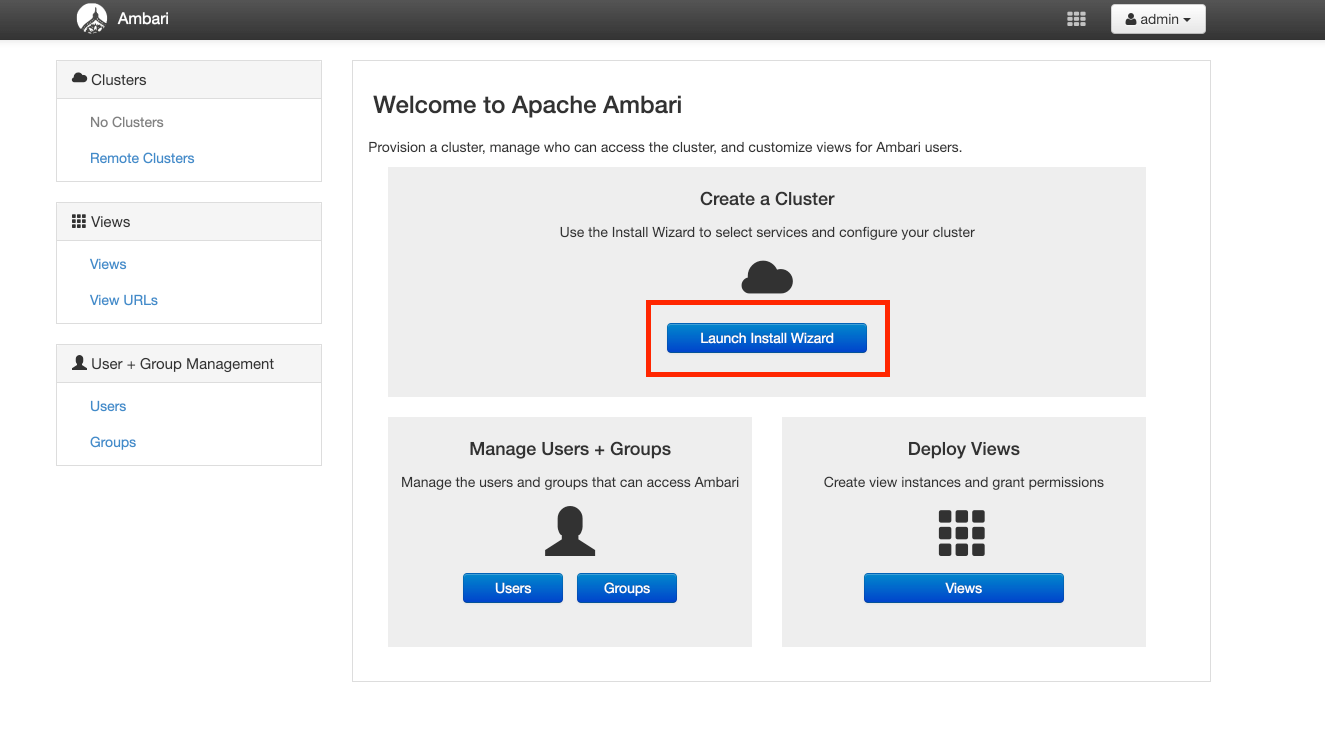
If you want to start quickly, it is advisable to choose default options.Open your browser, then access to the WebUI and click the item (“Launch Install Wizard”)
URL: 192.168.110.150:8080
Account: admin
Password: admin
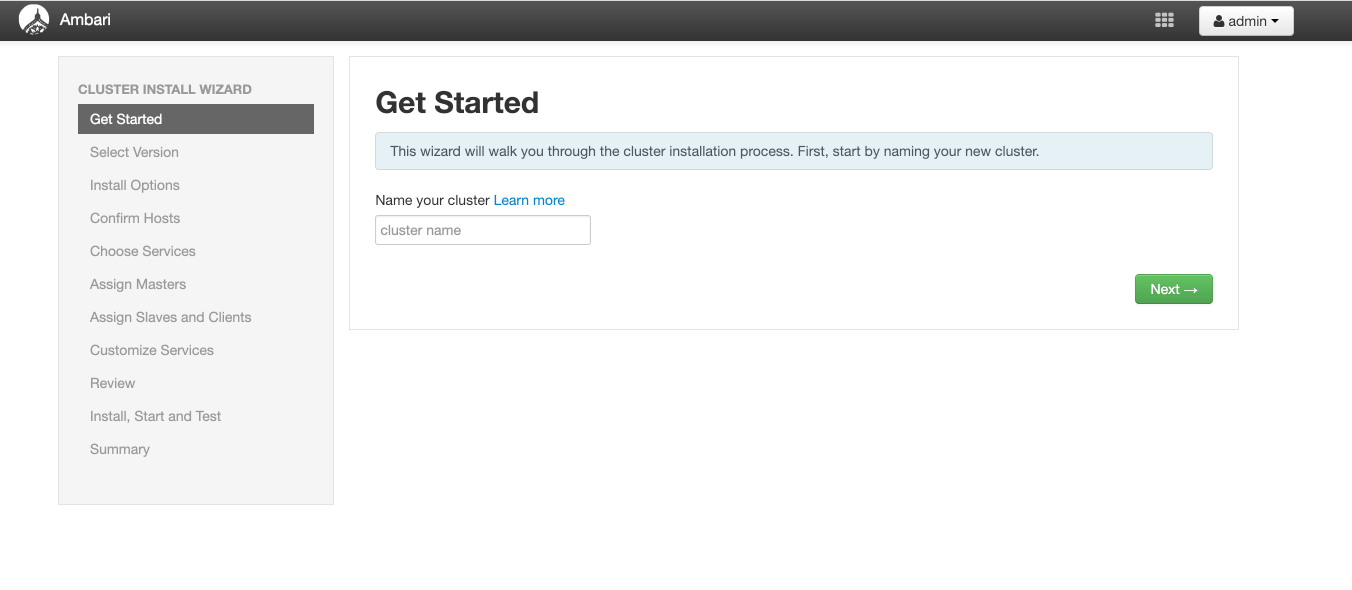
Get Started
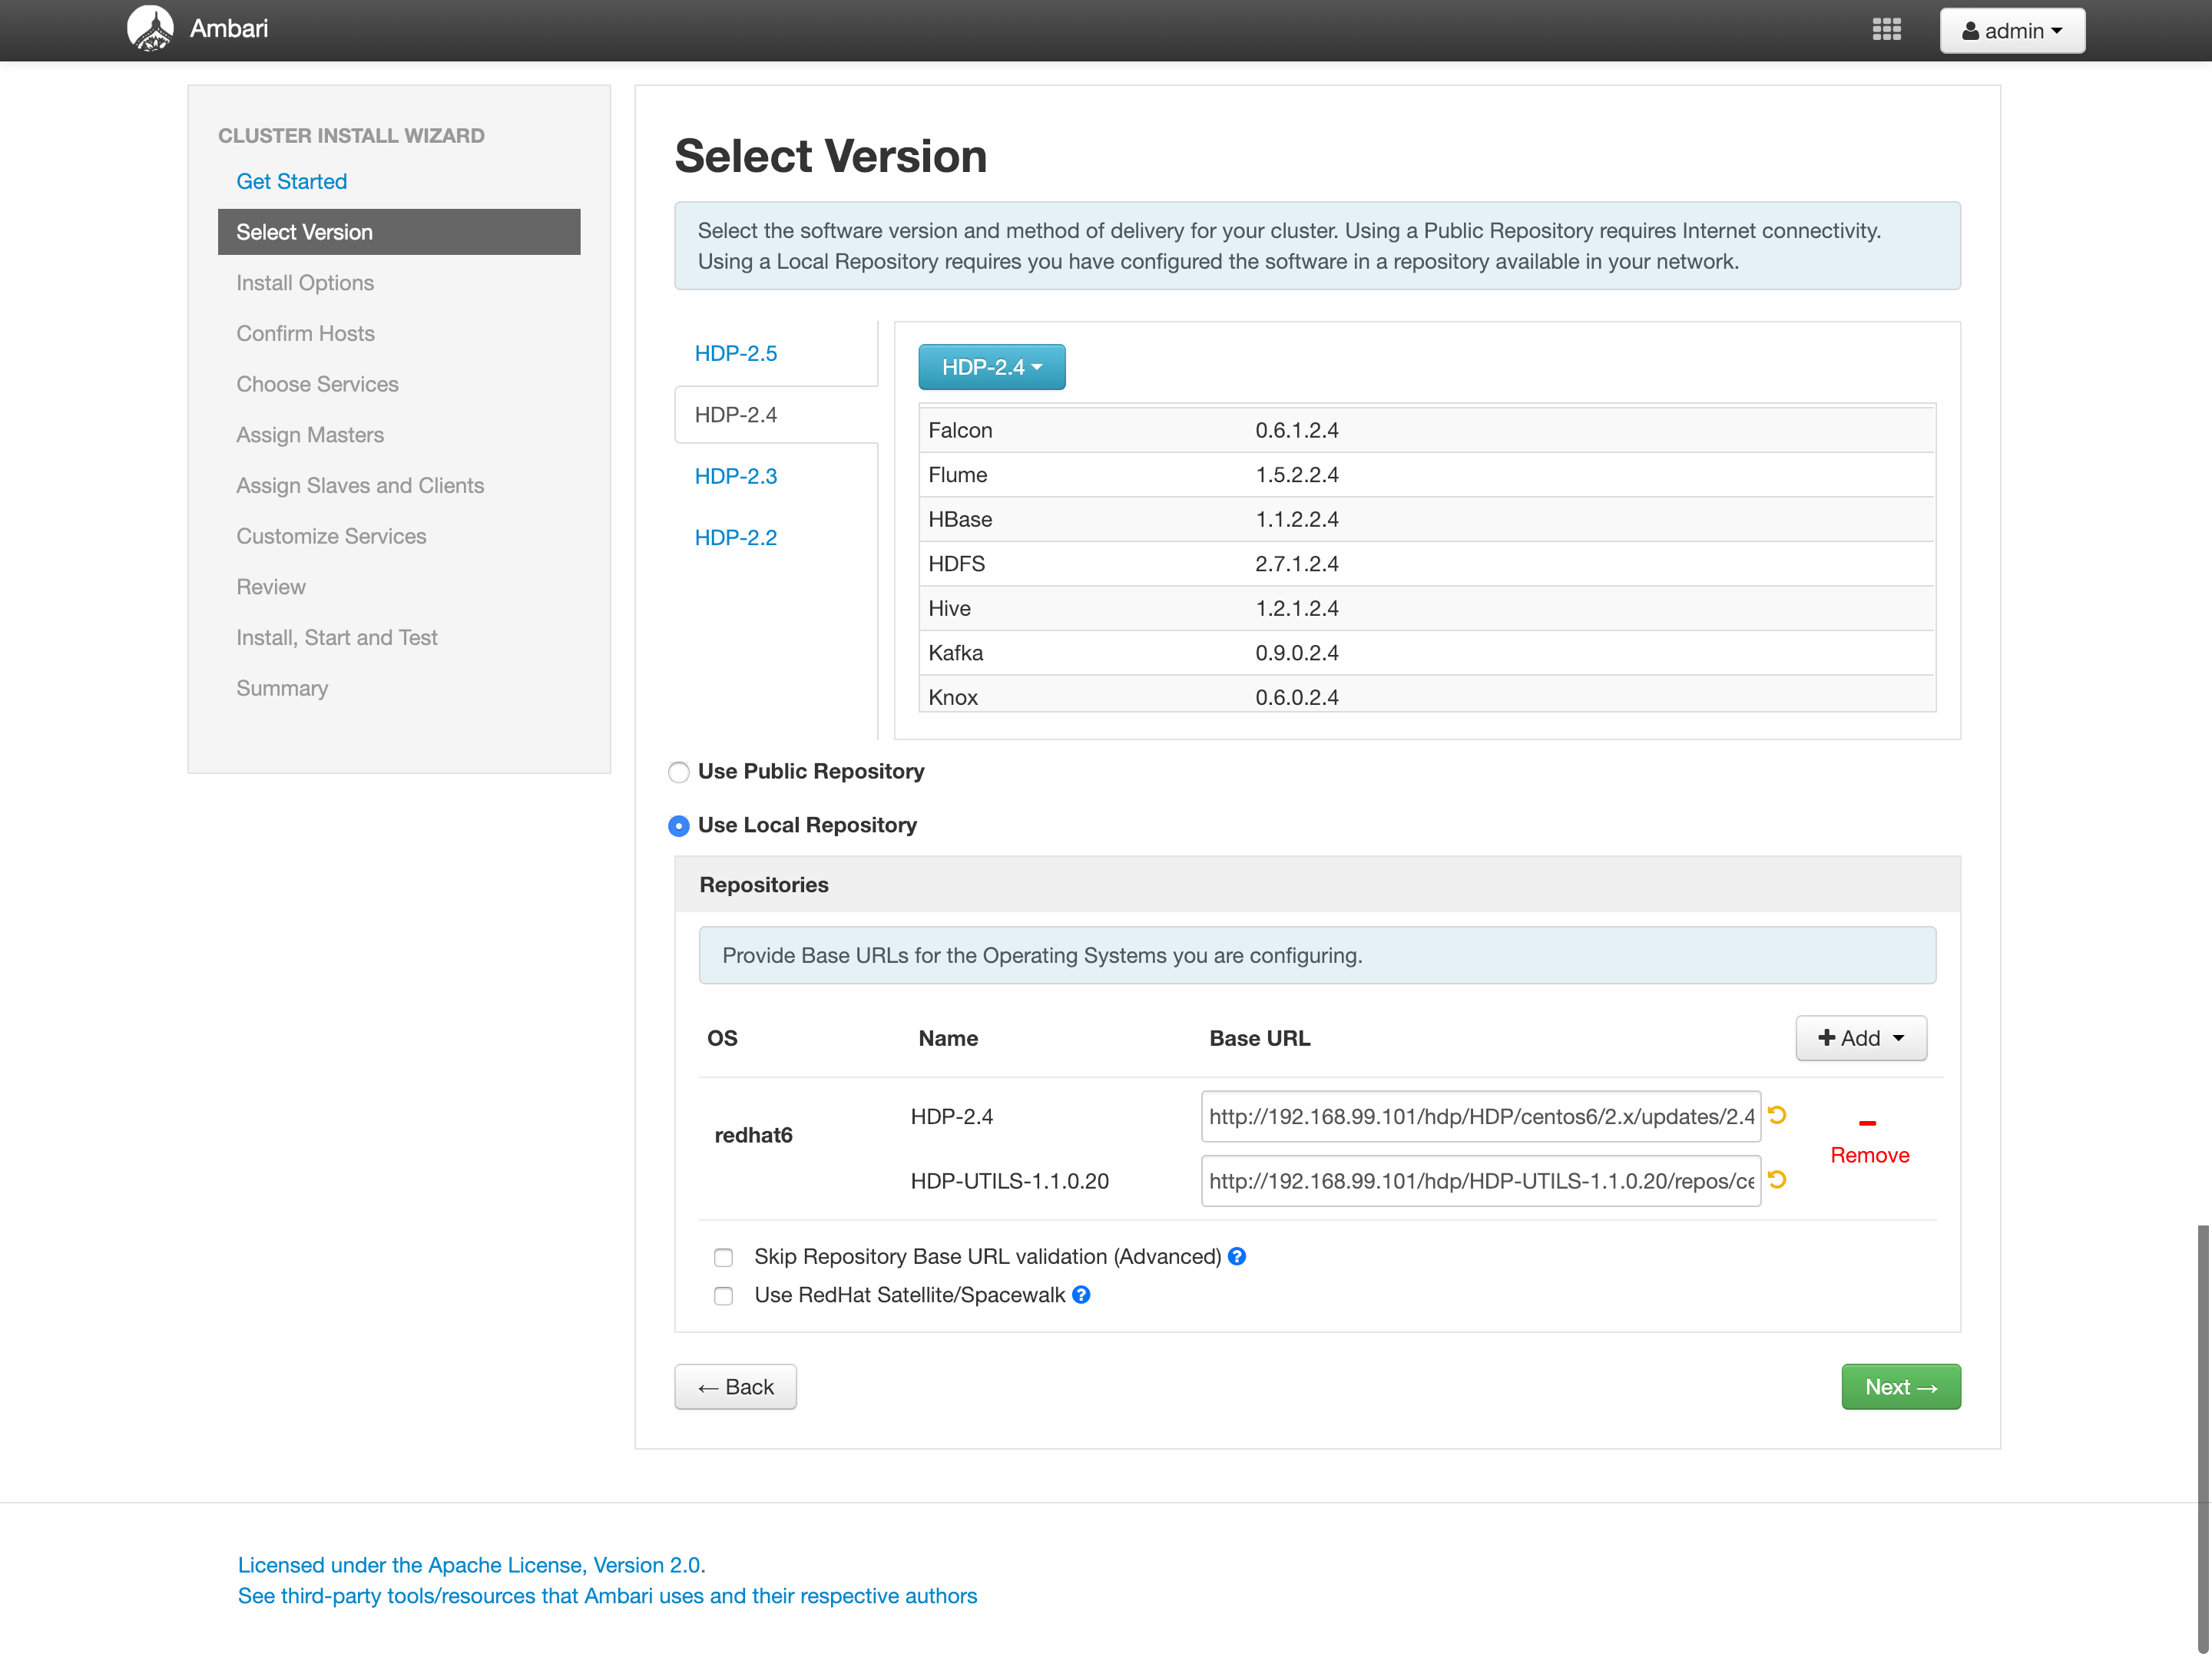
Select Version
Choose local repository, then input base URL of HDP and HDP-UTILS.
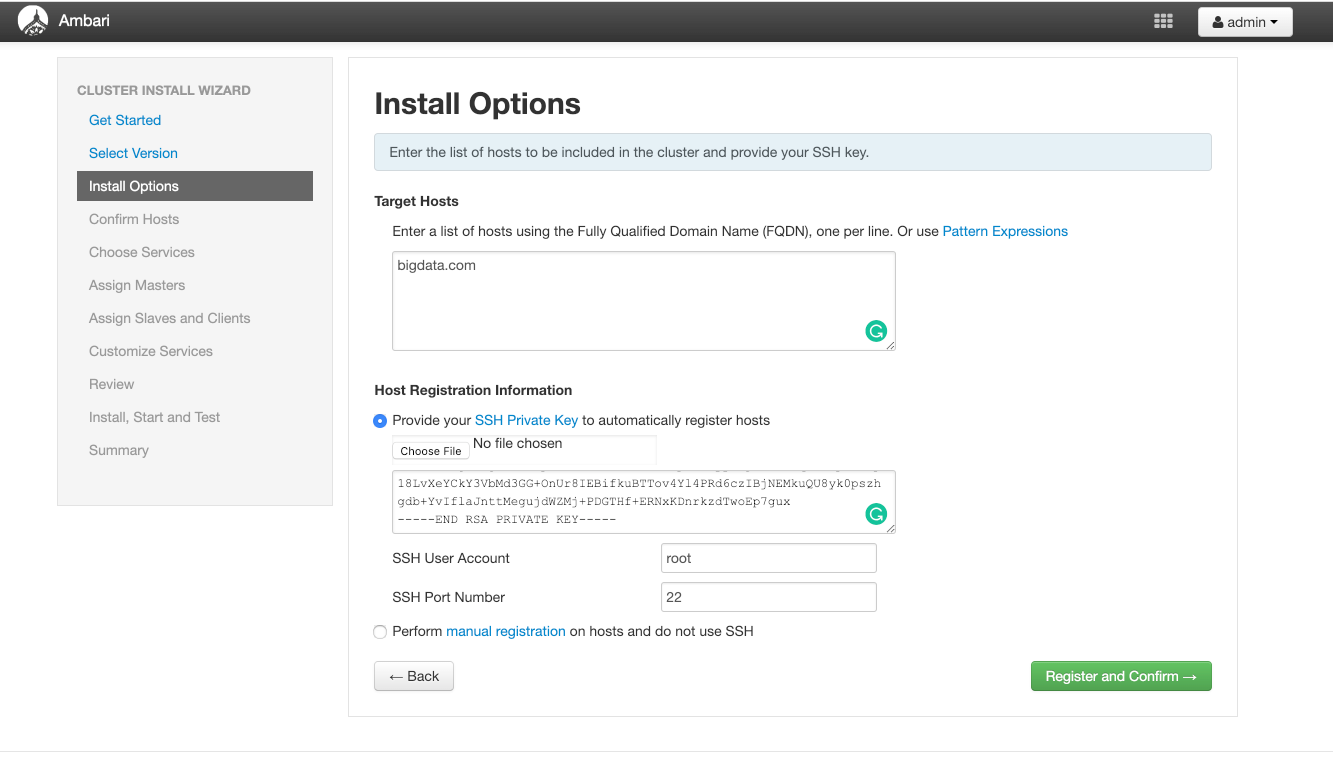
Install Options
Input your master’s hostname and slaves’ hostnames. Then copy your master’s ssh private key into the item.
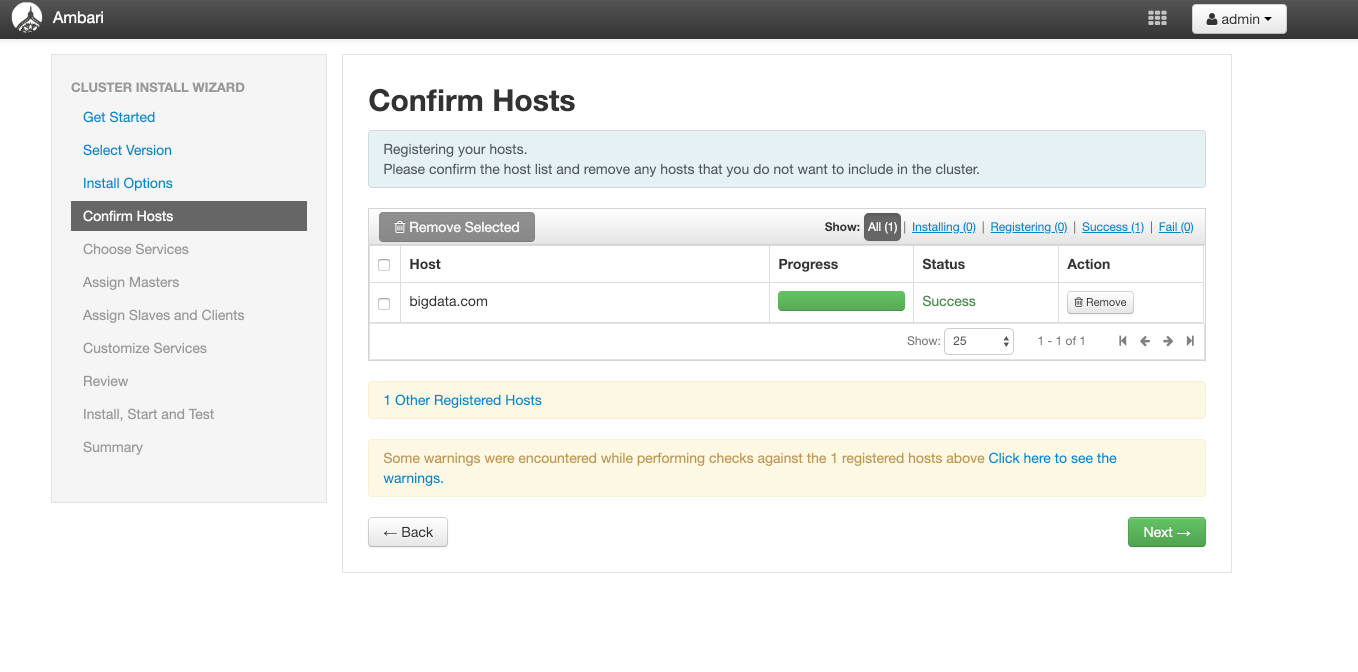
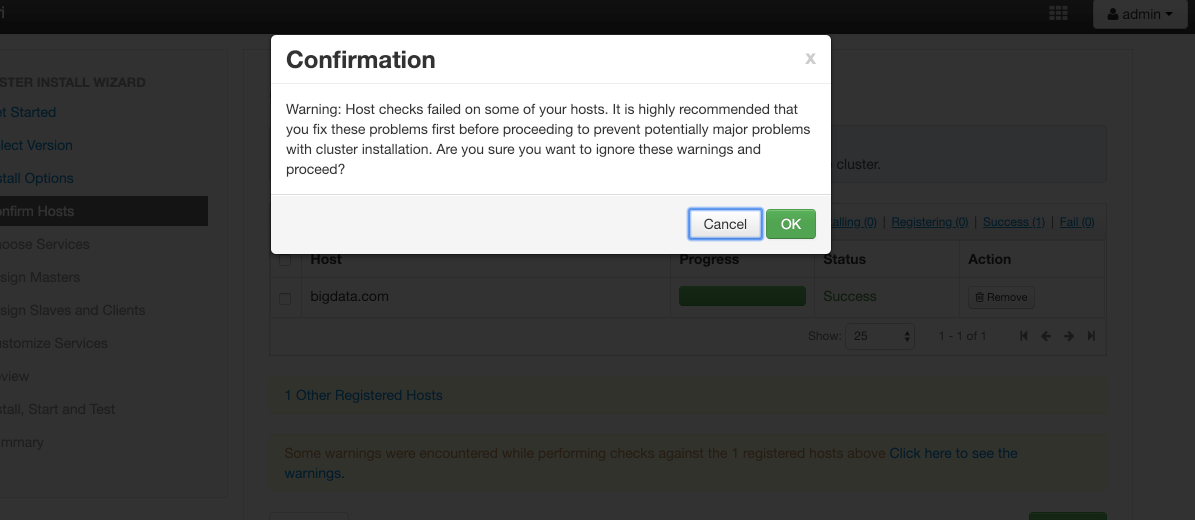
Confirm Hosts
Just click “ok” to continue.
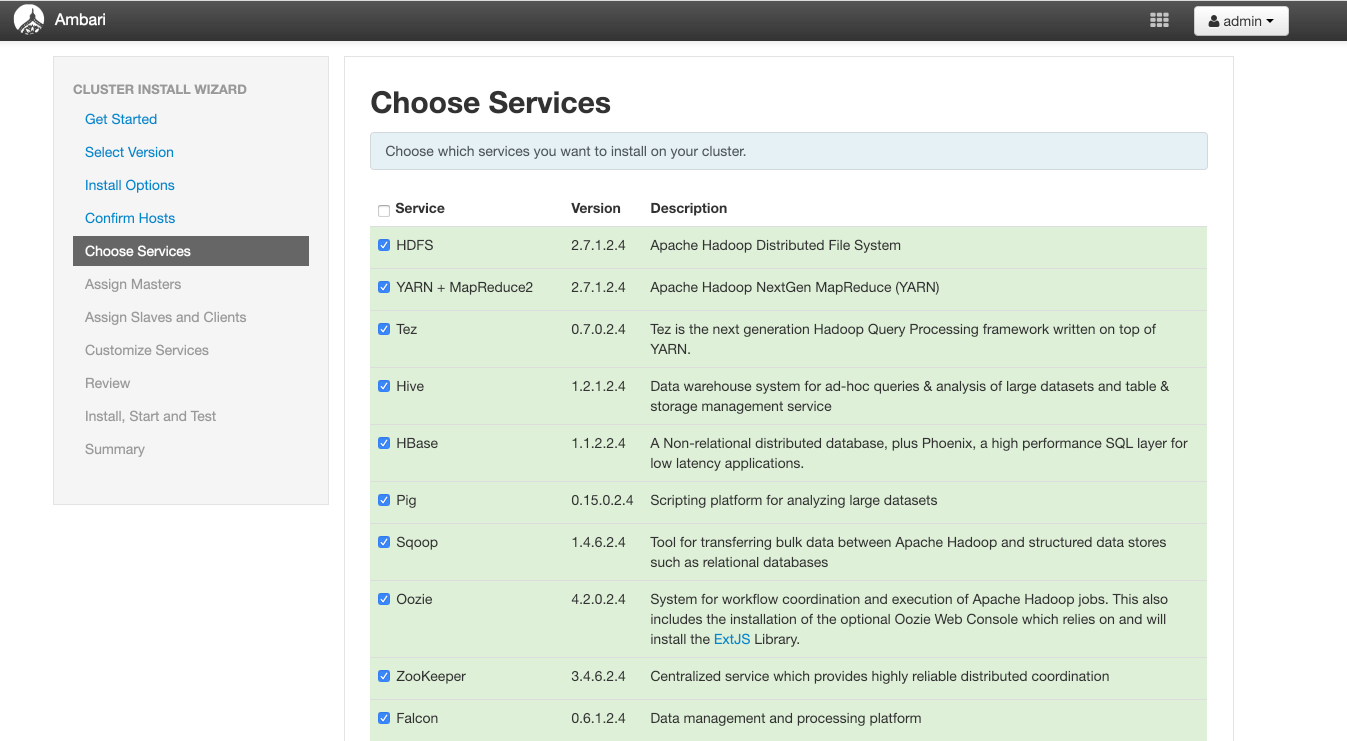
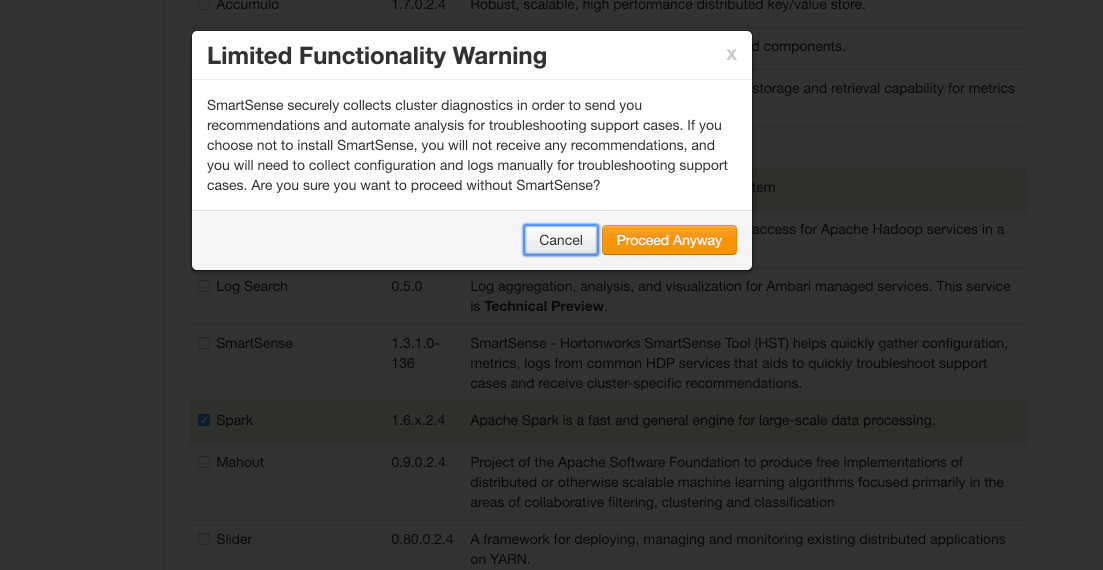
Choose Services
Choose what service you want to add to your system. You can add new services to your system later on.
Just click “ok” to continue.
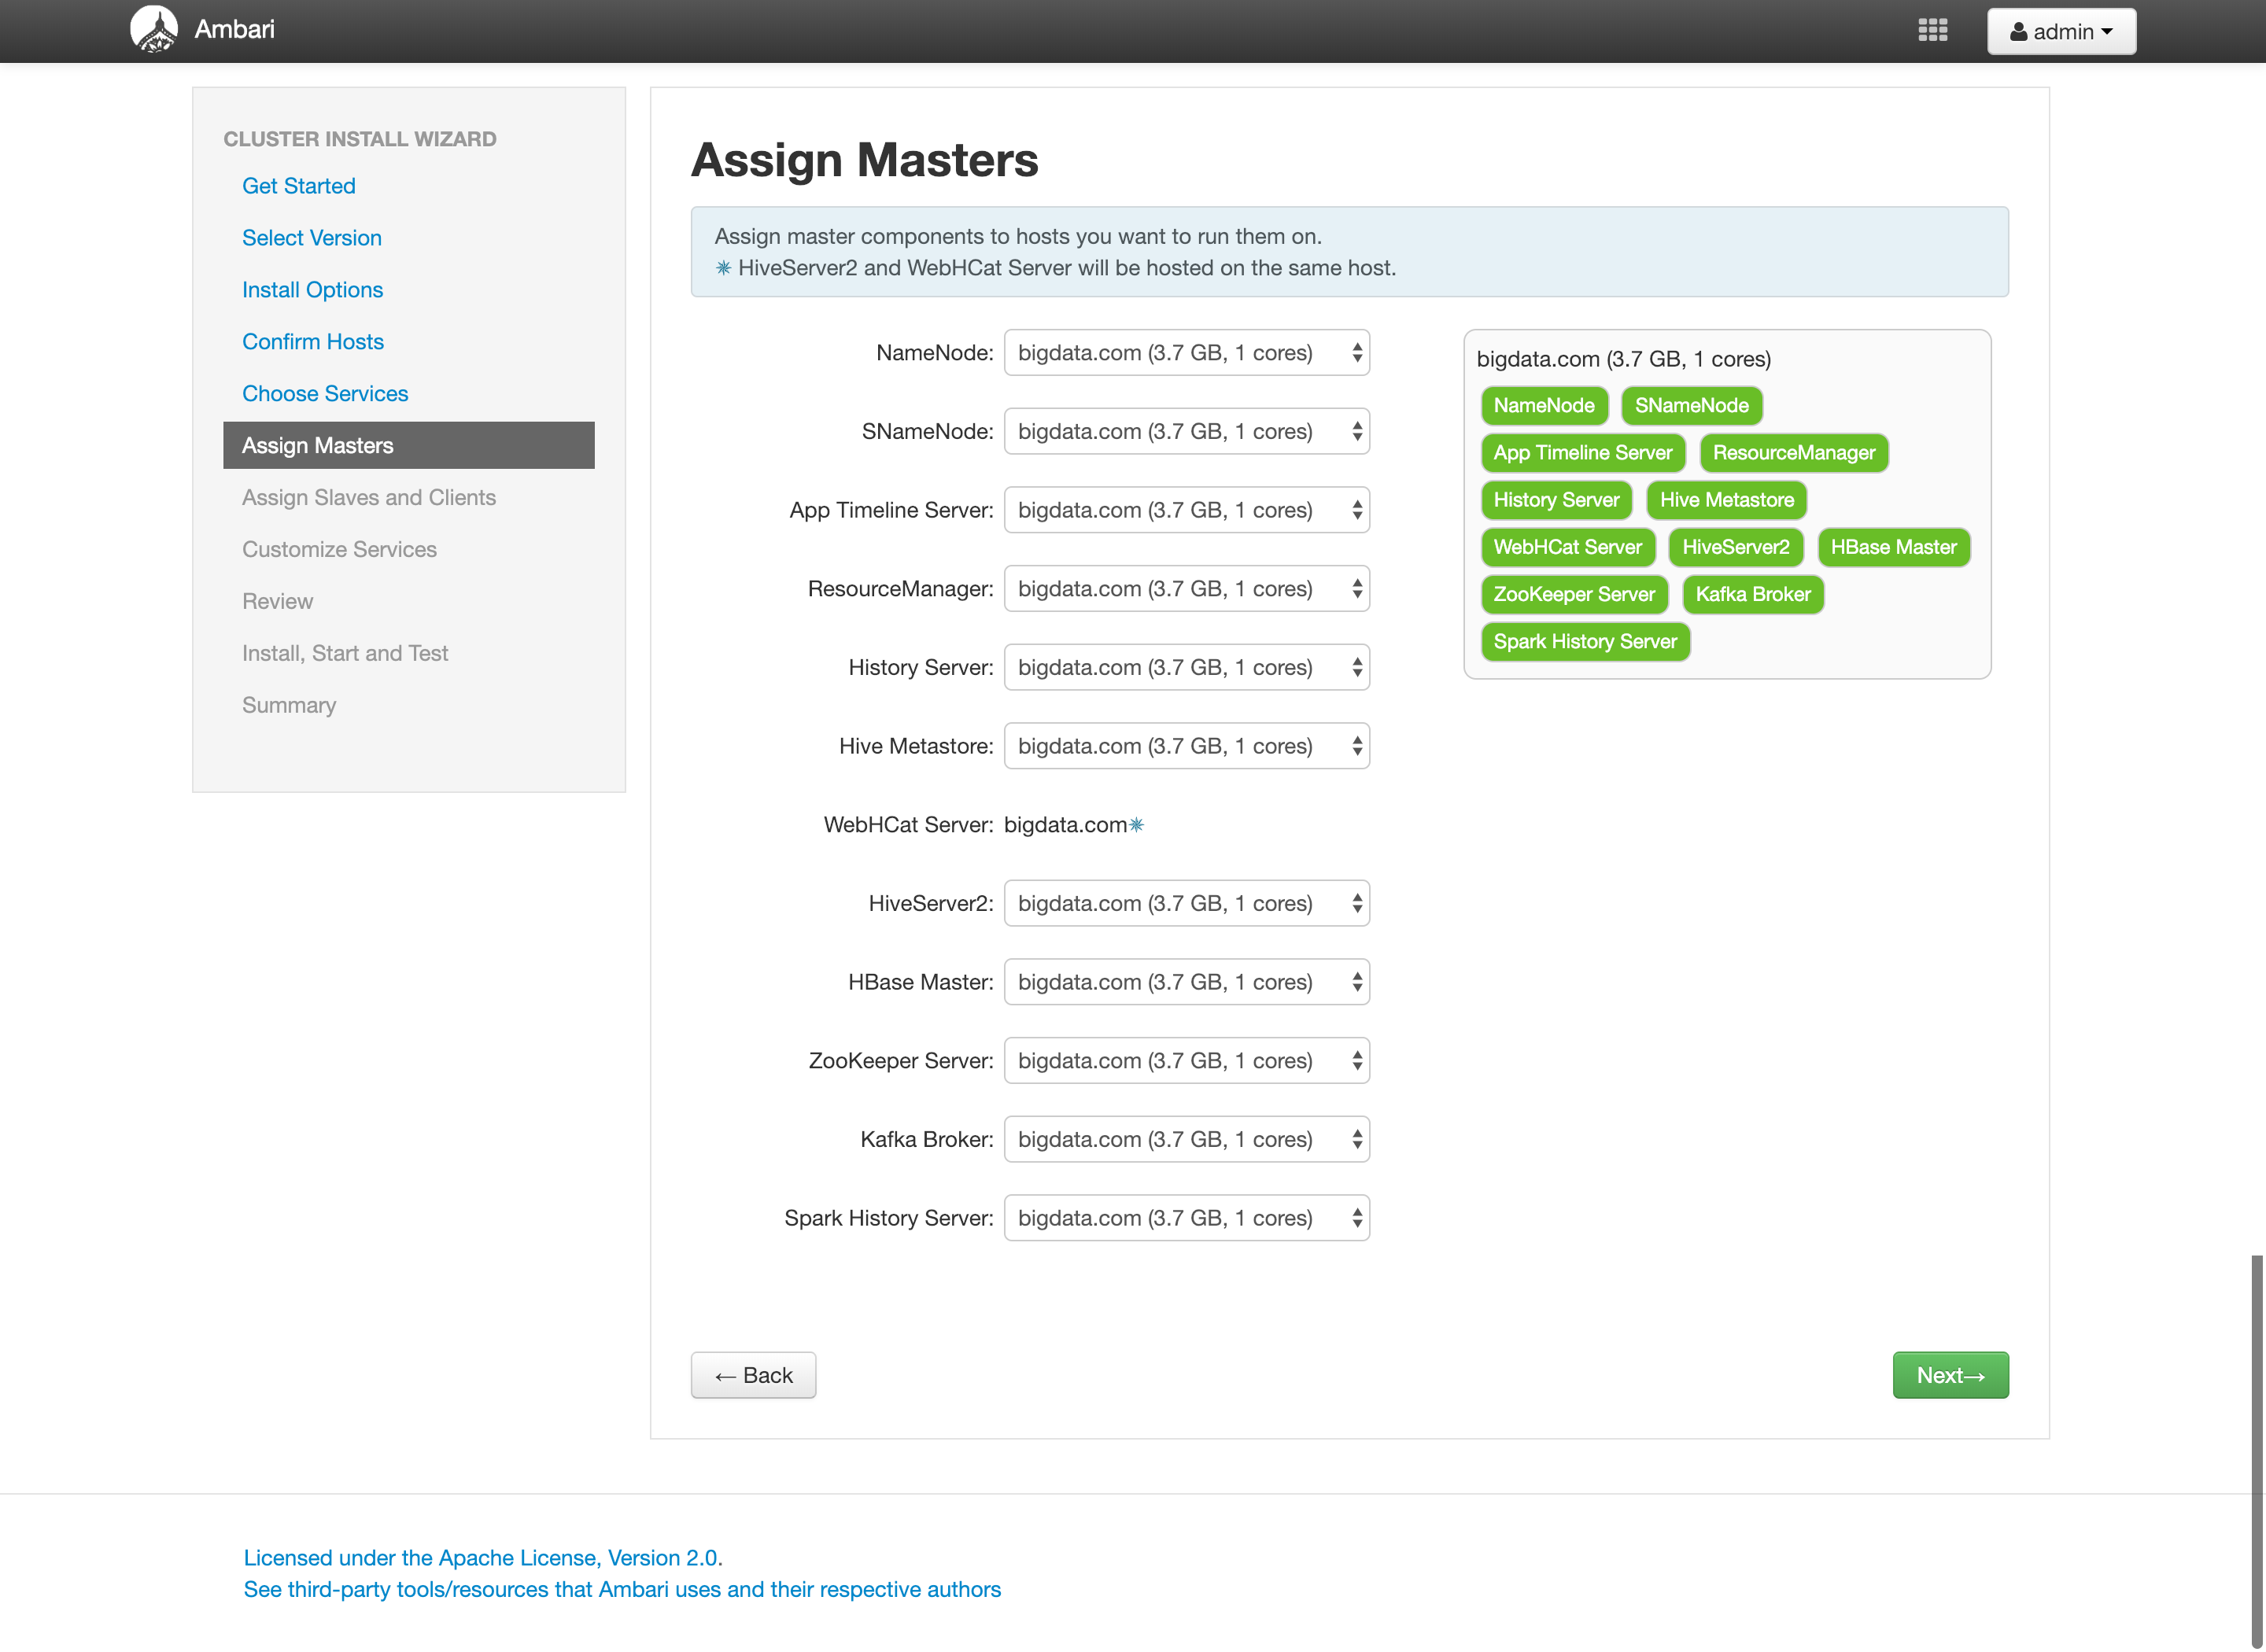
Assign Masters
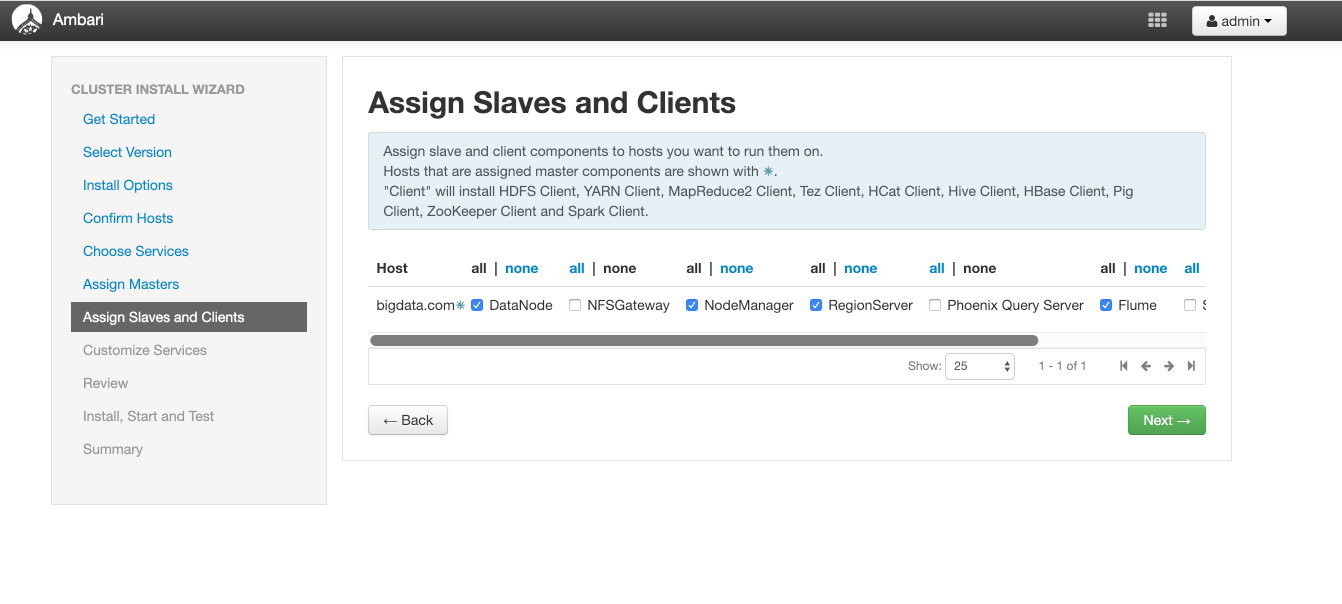
Assign Slaves and Clients
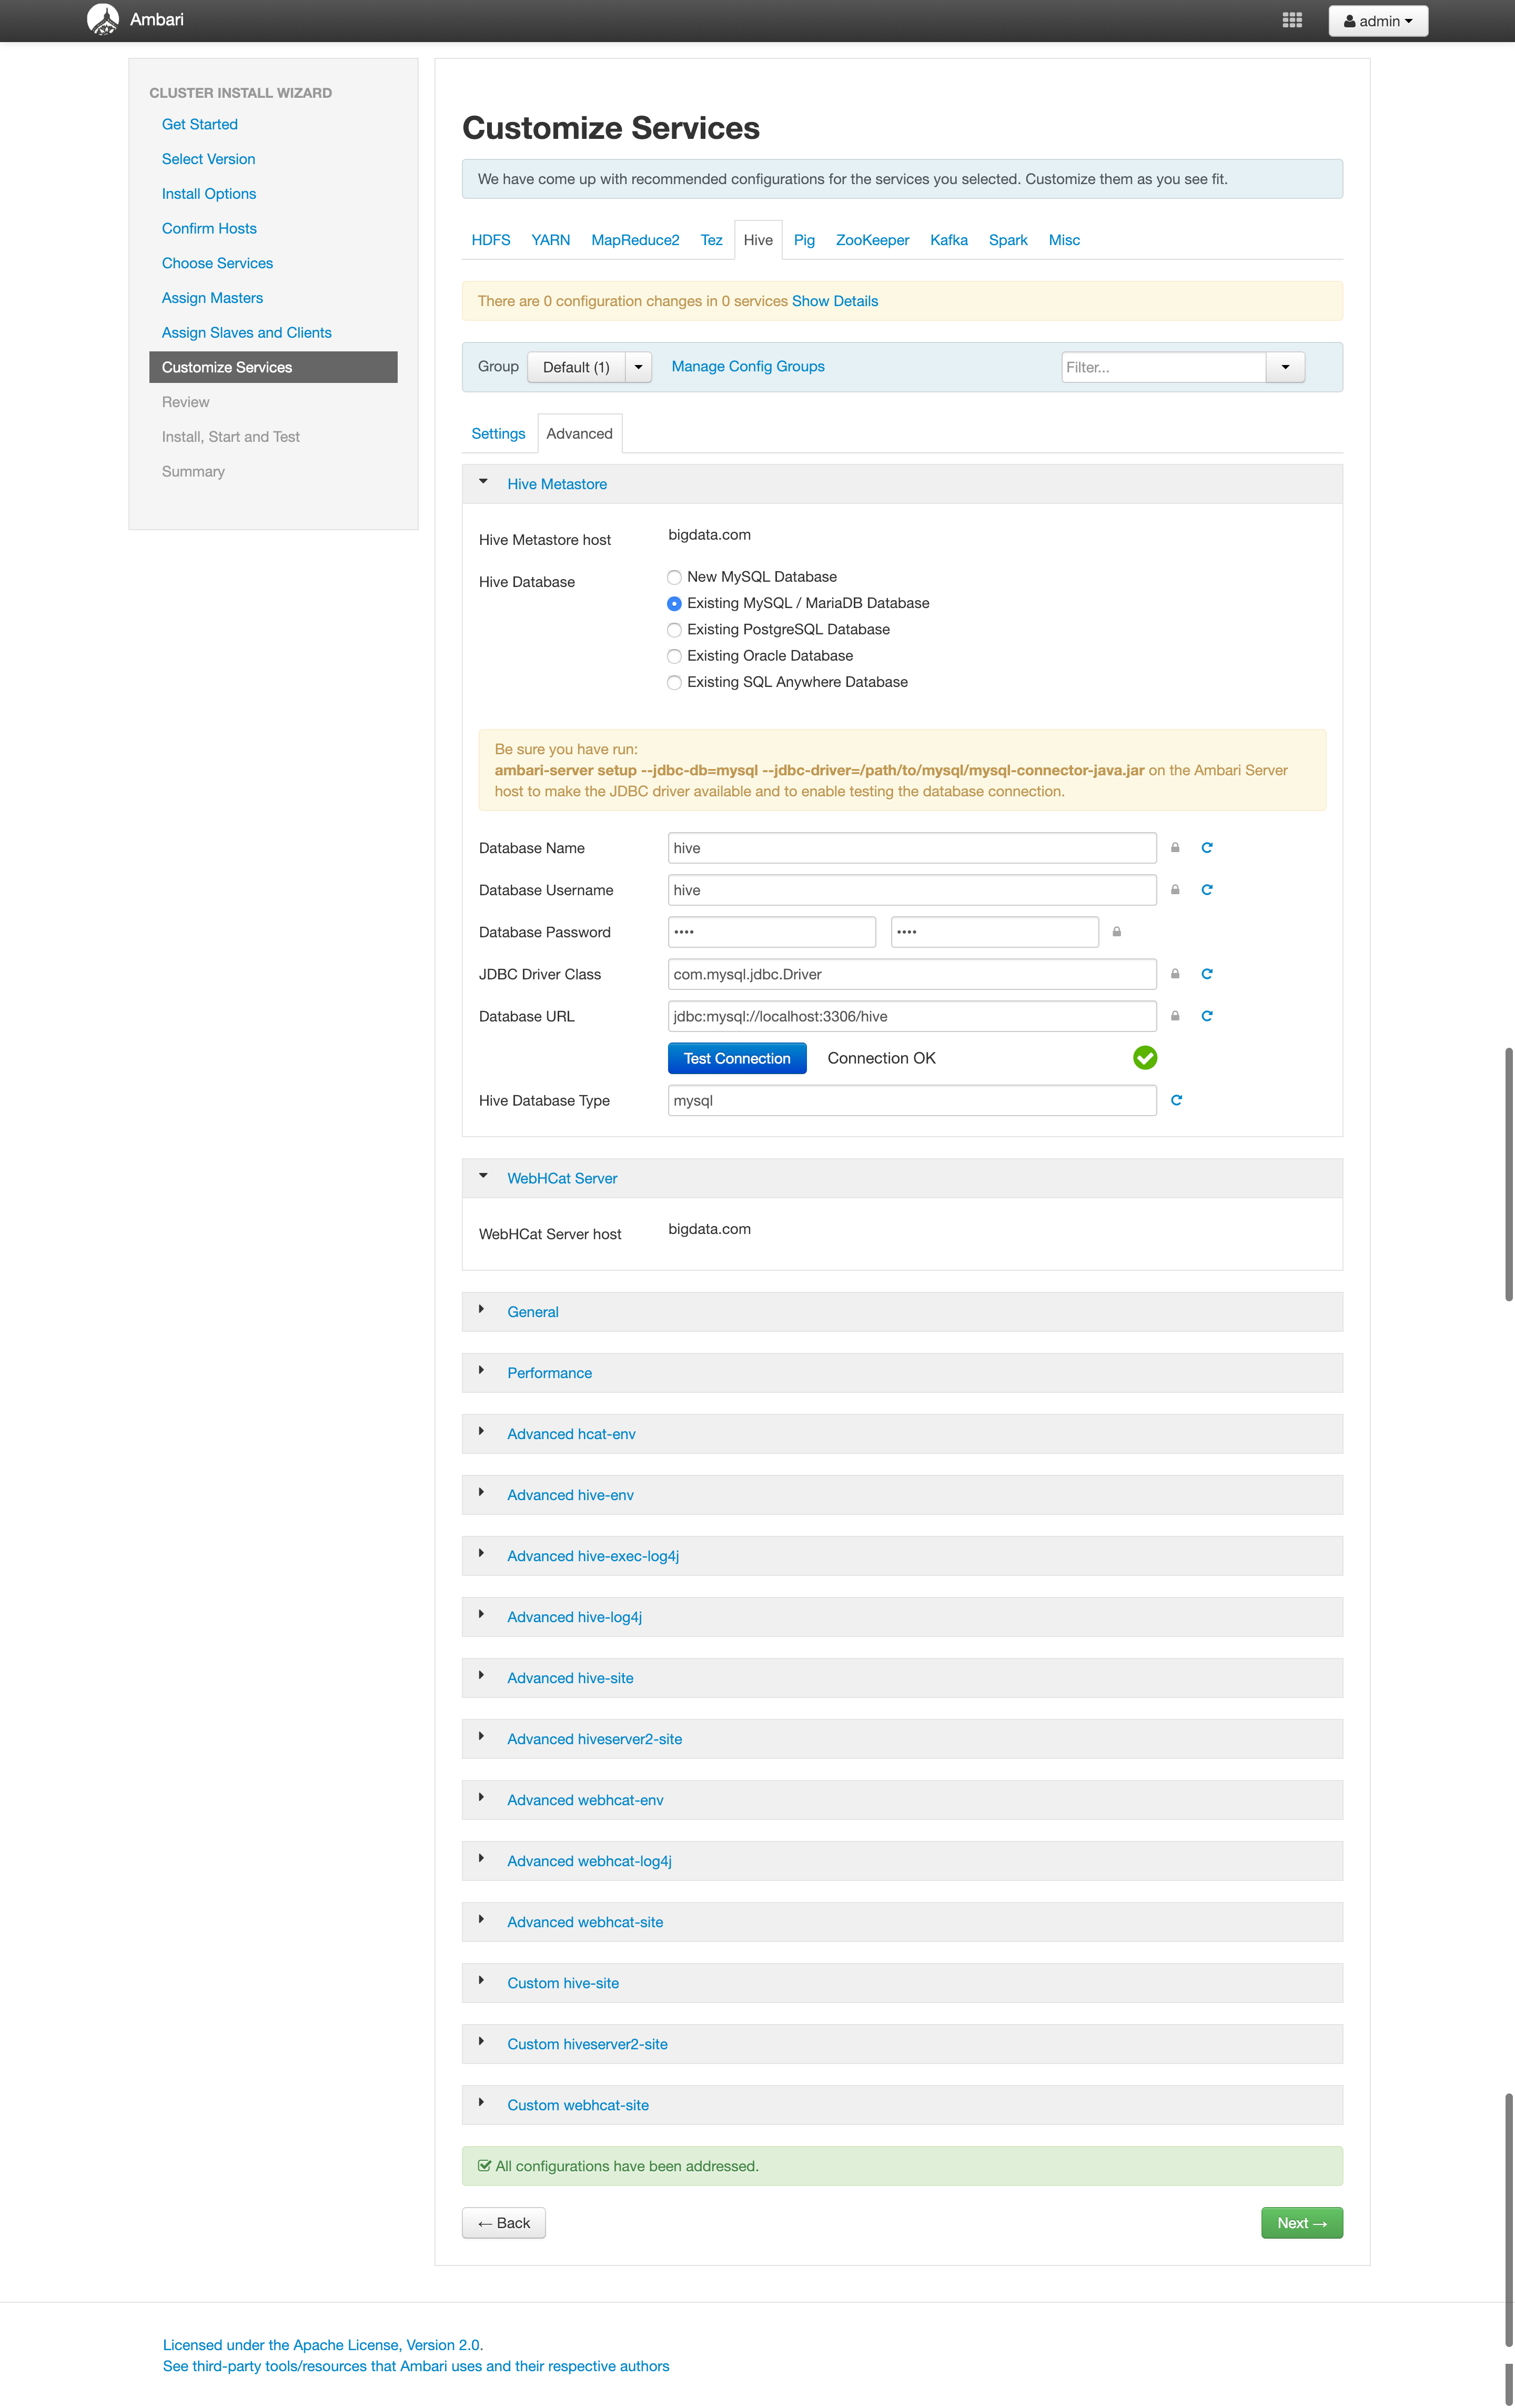
Customize Services
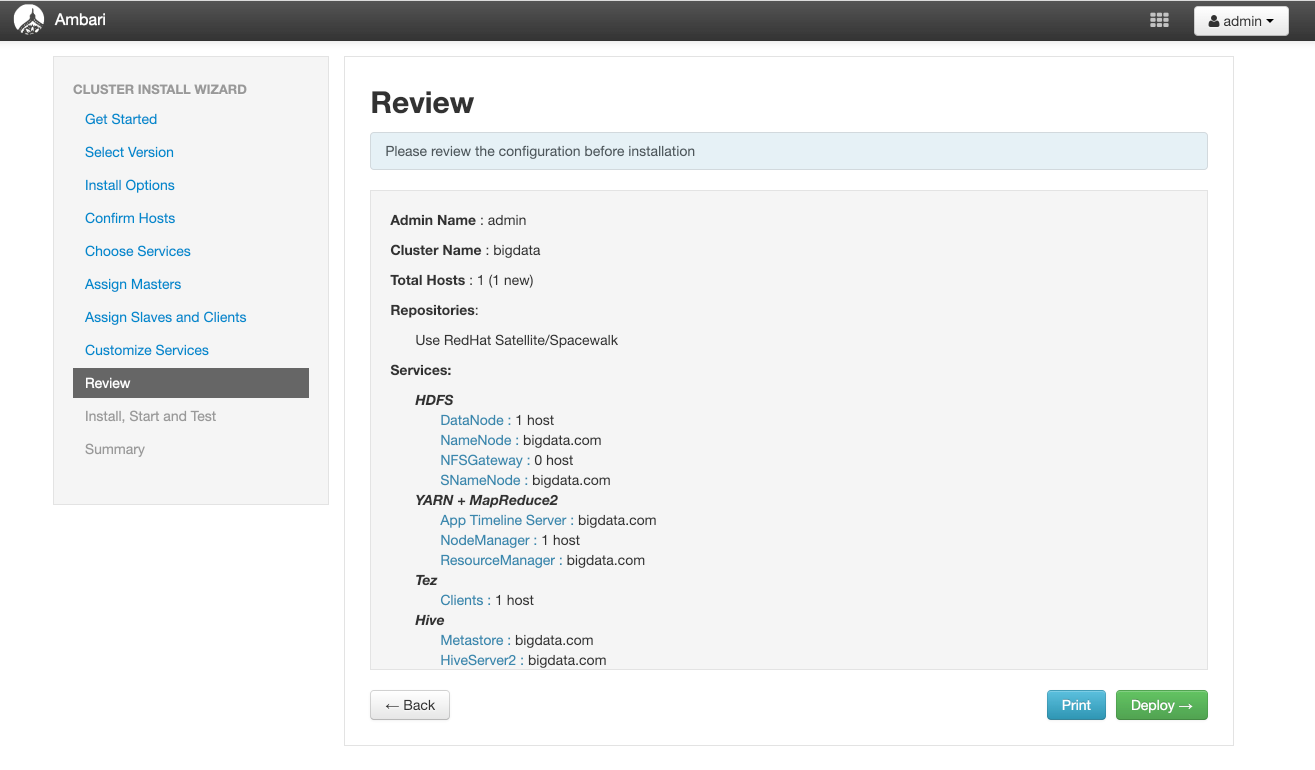
You just need to input info for items with a red exclamation mark. Review
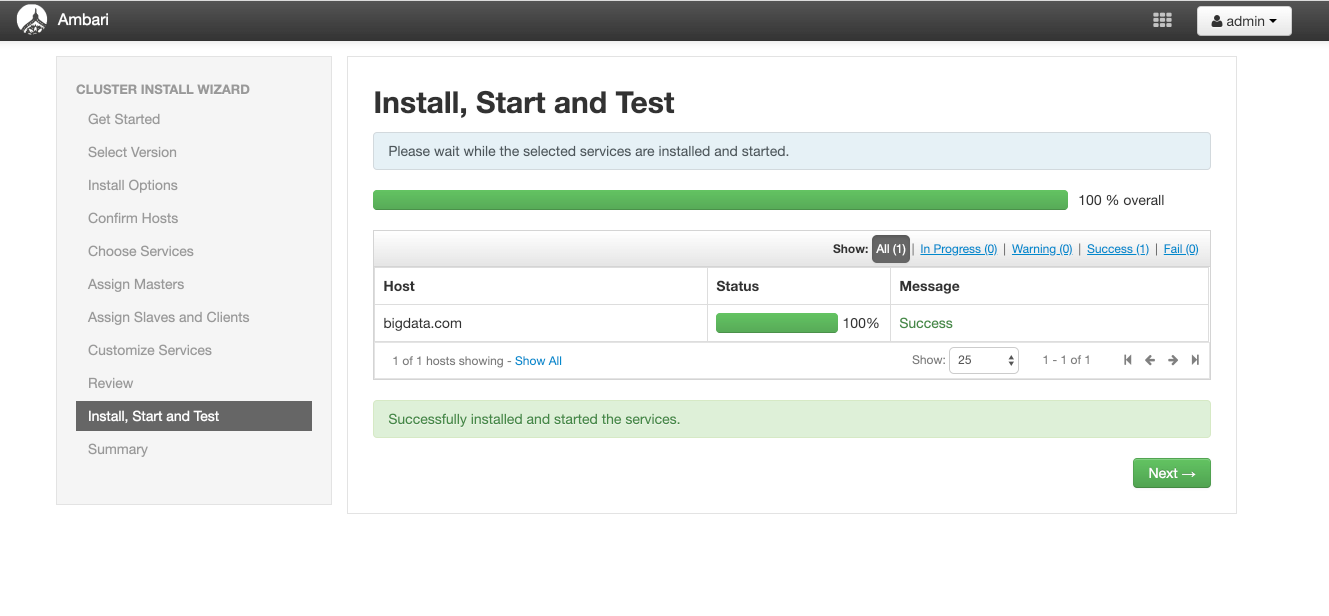
Install, Start and Test
If you get to this step successfully, you can drink a cup of coffee and enjoy this time. Summary
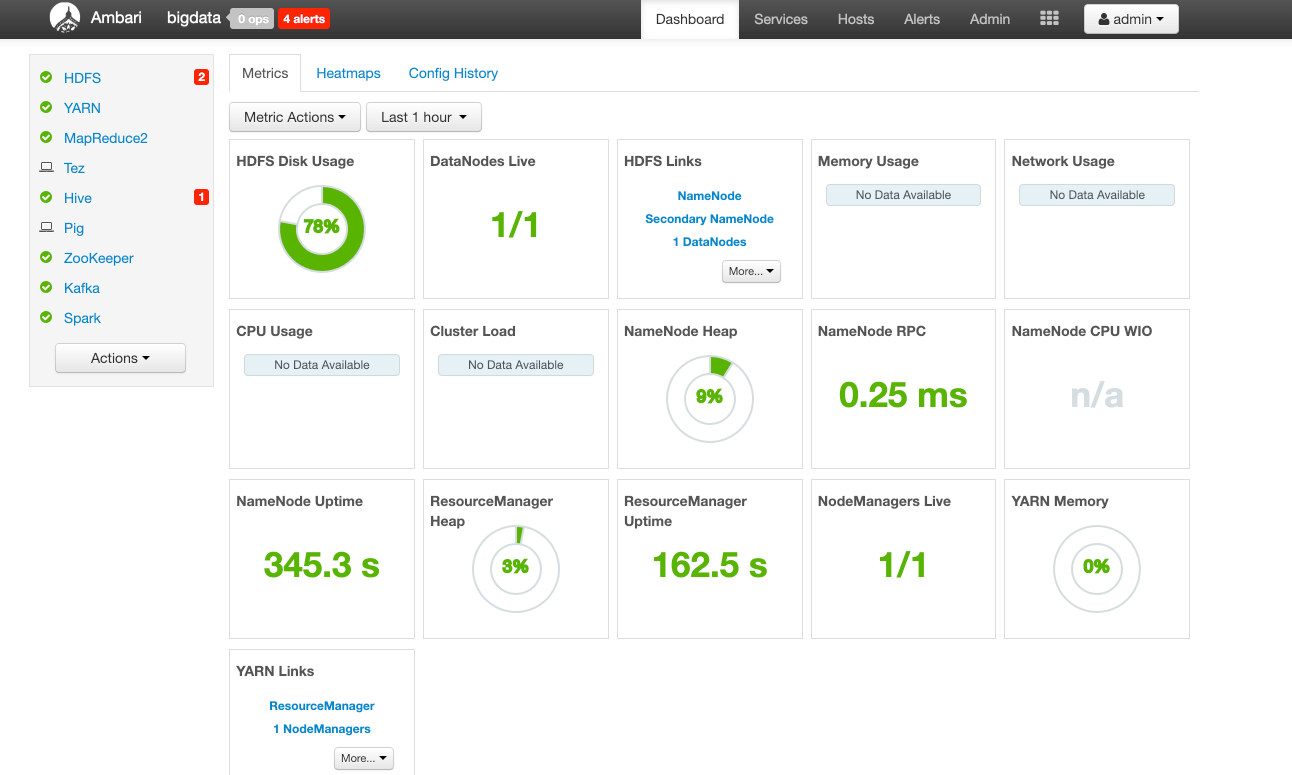
So now, say hello world to Ambari.